Flush a Water Heater
Flushing a water heater is one of the most important home maintenance tasks that homeowners often forget about. Over time, minerals and sediment build up inside the tank, which can cause problems ranging from loud rumbling noises to reduced efficiency and even a shorter lifespan for the water heater. The process is straightforward when you understand the steps, and it can make a huge difference in performance.
Regular flushing removes the layer of sediment at the bottom of the tank. This sediment, made up of minerals like calcium and magnesium, settles over time as water is heated. Left unchecked, it acts as insulation, preventing the heating element or burner from effectively warming the water. This not only wastes energy but also forces the water heater to work harder, which may eventually cause parts to fail. By learning how to flush a water heater and sticking to a schedule, you can save money on energy bills and avoid premature replacement costs.
Another reason to prioritize flushing is safety. Sediment buildup can create hot spots inside the tank that damage the metal lining and increase the risk of leaks. In some cases, pressure may build up inside the tank if maintenance is neglected. Taking the time to flush a water heater once or twice a year keeps things balanced and ensures the system is safe to operate.
When it comes to preparing for this task, you do not need a long list of specialized tools. A simple garden hose, a bucket or access to a drain, and a flathead screwdriver are usually enough to get the job done. Towels are helpful for catching drips, and gloves can protect your hands from hot water. Many of these items are already lying around in most households, and if not, they are easy to find at local stores such as Home Depot or Lowe’s.
1. Turn Off Power or Gas
The very first step is always safety. You cannot begin flushing a water heater while the system is powered on. For electric units, head to the main electrical panel and switch off the breaker connected to the water heater. For gas models, turn the thermostat down to “Pilot” or completely shut off the gas supply. This ensures that the heating elements or burner are not operating while the tank is drained, which could cause serious damage. Taking this step also reduces the risk of accidental burns or sparks while working on the unit.
2. Shut Off the Cold Water Supply
Once the power or gas is off, locate the cold water supply valve at the top of the heater and turn it clockwise to shut it off. This valve prevents more water from entering the tank while you are draining it. Closing the supply is important because it allows you to fully empty the tank without worrying about water continuously refilling as you work. This also makes the flushing process more effective since you can see the sediment being removed clearly as the tank drains.
3. Connect a Garden Hose
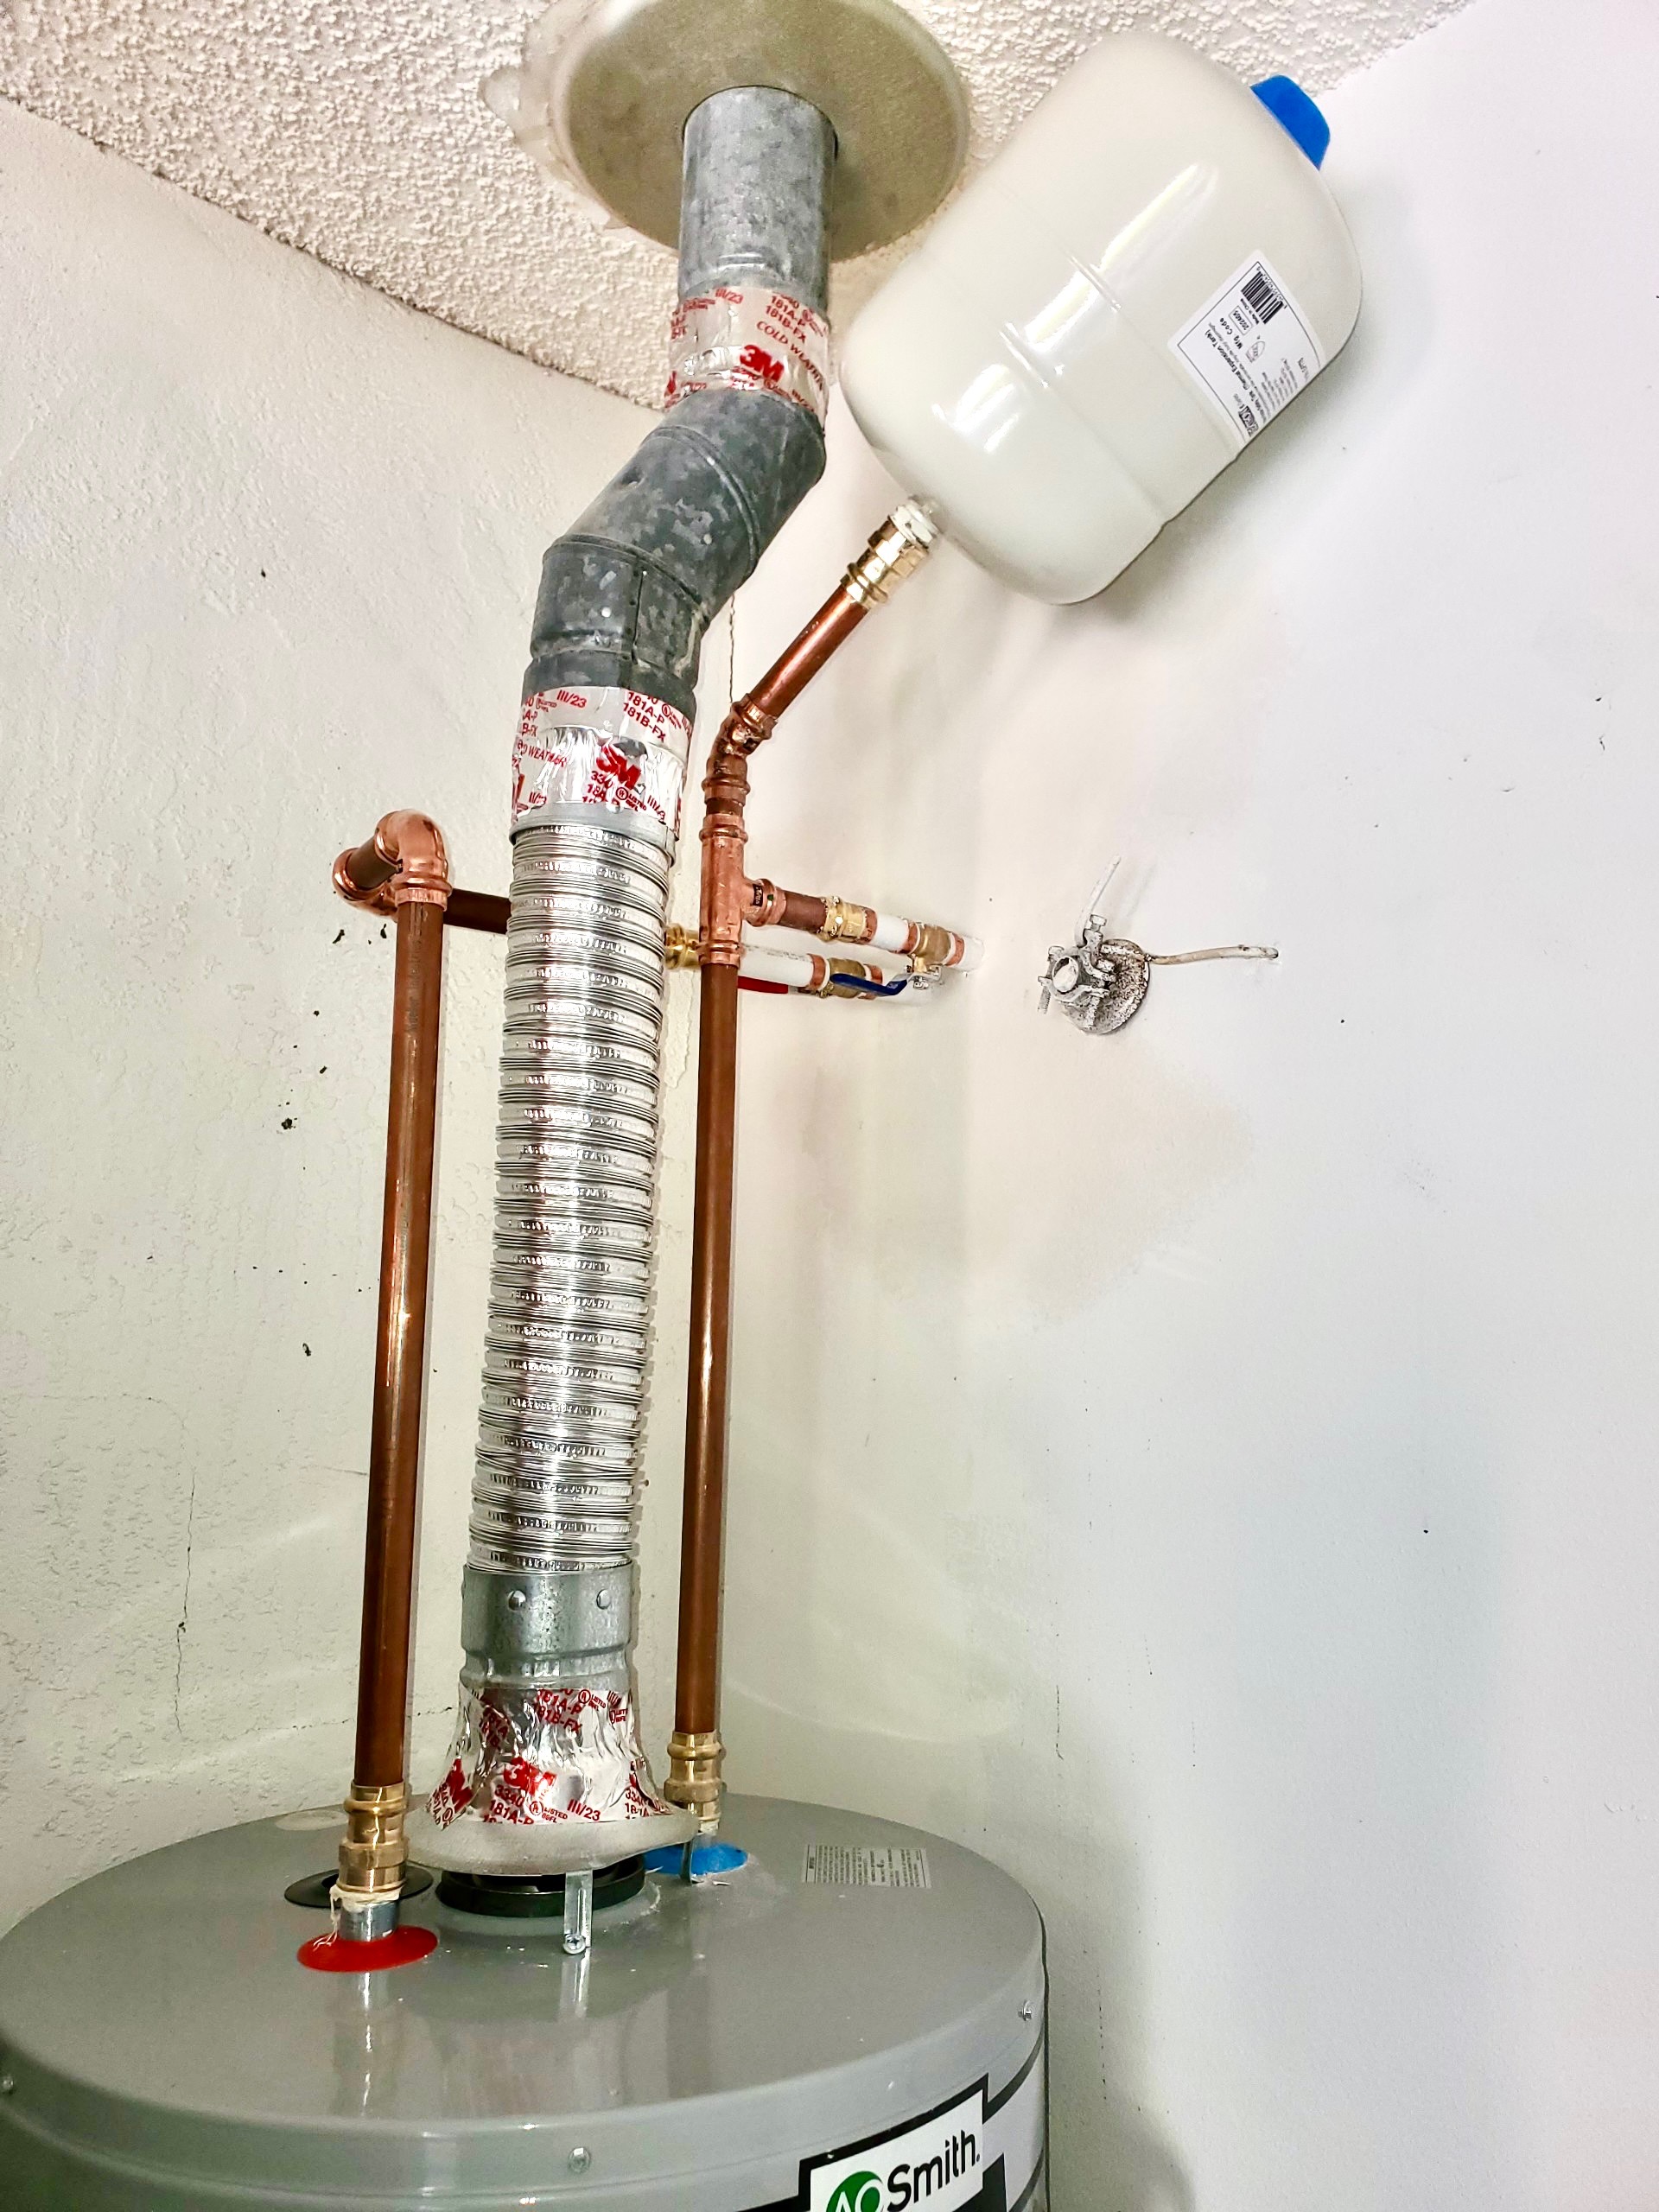
Next, attach a garden hose securely to the drain valve located near the bottom of the tank. Make sure the hose is tightly connected to avoid leaks. The other end of the hose should be directed toward a safe drainage area such as a floor drain, driveway, or a large bucket. Keep in mind that the water coming out may be extremely hot, so you want to avoid areas where it could cause damage or injury. Allowing it to run outside onto a concrete surface is usually the safest option.
4. Open a Hot Water Faucet
Before opening the drain valve, go inside your home and turn on a hot water faucet. This small step makes a big difference. Opening the faucet relieves internal pressure and prevents air from creating suction inside the tank. Without this step, the draining process can be much slower or even stop altogether. You will hear sputtering at first as the tank empties, but this is completely normal and will smooth out later once the tank refills.
5. Drain the Tank
With the hose connected and a hot water tap open, it is time to drain the tank. Slowly open the drain valve and let the water begin to flow out through the hose. Depending on the amount of sediment inside, the water may appear cloudy, sandy, or even rusty. This is all part of the process. If the water does not start flowing, the valve may be clogged with debris. In that case, gently use a screwdriver to loosen it or let the pressure build for a moment before trying again. Allow the tank to drain completely before moving to the next step.
6. Flush Out Sediment
Draining the tank removes most of the water, but sediment often clings to the bottom. To clear it out, turn the cold water supply back on for a few minutes while leaving the drain valve open. The incoming water will stir up any remaining particles and push them out through the hose. Continue this until the water flows clear. In homes with hard water, you may see a lot of buildup come out during this step. Consider investing in a whole-house water filtration system if sediment is a recurring issue.
7. Close the Valve and Refill
Once the water runs clean, close the drain valve securely and remove the garden hose. Turn the cold water supply back on fully and allow the tank to refill. While the tank is filling, keep the hot water faucet you opened earlier running. Once the water begins to flow steadily without sputtering, you will know the tank is full again and air has been purged from the system.
8. Restore Power or Gas
After the tank has refilled completely, you can restore power or gas. For electric water heaters, flip the breaker switch back on. For gas models, relight the pilot if needed and turn the thermostat back from “Pilot” to “On.” Within an hour, your water heater will be back to providing hot water as normal.
9. Check Faucets and Valves
As a final step, check around the base of the water heater and the drain valve for leaks. Also, test hot water faucets in different areas of the home to make sure everything is functioning properly. If you notice leaks at the drain valve, tightening it slightly should solve the problem. If leaks persist, the valve may need replacement, which is best handled by a plumber.
Flushing your water heater once a year is the recommended schedule for most households, but in regions with very hard water, flushing every six months can provide even better results. By keeping to this schedule, you will maintain efficiency, reduce noise, and extend the life of the heater.
It is worth noting that neglecting to flush a water heater can lead to several issues. Sediment buildup can cause loud banging or popping noises when the heater is in use. It can also create hot spots that weaken the tank lining, increasing the risk of leaks. Eventually, the sediment can take up so much space that the water heater provides less hot water than it should. Regular maintenance prevents these problems before they become expensive repairs.
In addition to flushing, homeowners should consider other routine maintenance tasks for water heaters. Checking the anode rod every few years is important because it protects the tank from corrosion. Insulating the tank can help retain heat and lower energy costs. Installing a sediment filter or water softener can also prevent minerals from accumulating so quickly. Each of these practices complements flushing and ensures your system runs at peak performance.
For homeowners who are not comfortable working with gas, electricity, or plumbing systems, contacting a licensed plumber is always a smart choice. Professionals can flush the system quickly, inspect the tank for issues, and provide recommendations for extending its lifespan. Websites like Angi or HomeAdvisor can help you connect with qualified plumbers in your area if you prefer professional service.
Frequently Asked Questions
How long does it take to flush a water heater?
Most homeowners can complete the process in about 30 to 60 minutes, depending on tank size and how much sediment has built up.
What happens if you never flush your water heater?
Sediment will continue to accumulate, which can lower efficiency, cause noise, clog pipes, and eventually lead to leaks or total system failure.
Can I flush a water heater myself?
Yes, most homeowners can safely handle the process by following the steps outlined above. Always remember to turn off power or gas first.
Is flushing different for tankless water heaters?
Yes, tankless units require a descaling flush using vinegar or a specialized solution. The steps are different, so consult the manufacturer’s instructions or hire a professional.
Should I replace my water heater instead of flushing it?
If your water heater is over 10 years old and shows signs of leaking, rust, or failure to heat properly, replacement may be more cost-effective than regular flushing.
Flushing a water heater is a simple but powerful way to maintain one of the most important appliances in your home. By learning how to flush a water heater and committing to a regular schedule, you will save money, improve energy efficiency, and enjoy reliable hot water every day.
What’s Next?
Doug Herrell Plumbing is a trusted leader in Brevard County, Florida, specializing in slab leak detection and re-piping services. Call us today for a free estimate before a slab leak causes unnecessary damage to your property.
About Doug Herrell Plumbing – lic#CFC 048487
Doug Herrell Plumbing has been Brevard County’s source for plumbing services since 1980. We are a family owned and operated business and take tremendous pride in providing honest and reliable plumbing services at an affordable price.
CALL 321-254-0004
Serving Melbourne, Palm Bay, Viera, Suntree, Titusville, Merritt Island, Melbourne Beach, Indialantic, Indian Harbour Beach, Cape Canaveral, Satellite Beach, Rockledge, West Melbourne, Cocoa, and Cocoa Beach.
continue reading


